Creating a Speckle Track
To manually create a speckle track press "CTRL + LEFT CLICK". You will see a speckle mark for the new speckle track. If the speckle mark is hard to view you can zoom in by pressing "+" or by using the button image controls panel that has a "+" on it. Conversely Zoom out is "-" or with the appropriate button.

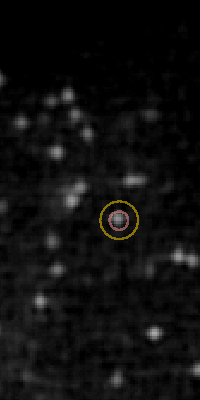
When a speckle track is selected it will have two concentric circles. Selected speckles can be modified and dragged.
Deleting Speckles
To delete a speckle mark from this frame "SHIFT + LEFT-CLICK" on that speckle mark. If this is the only frame that the speckle track has a mark, it will remove the speckle track.
To delete a speckle track press d and the currently selected speckle track will be deleted. If there are no speckle tracks selected, you need to click on the speckle mark you wish to remove.
Adjusting Speckle Marks
Adjust Speckle moves the selected speckle mark to the center of intensity. The keyboard shortcut to adjust a speckle is m.
To adjust ALL of the speckles marks in the current frame click on the Adjust All Speckles button in the locate tab on the control panel. These adjustments are performed iteratively. "Adjust All Speckles" uses less iterations per speckle than the "Adjust Speckle" button. (See "Control Panel" description.)
Tracking Speckles
So far we have created a speckle track with a speckle mark in one frame. To manually track a speckle through multiple frames use "Track Speckle".
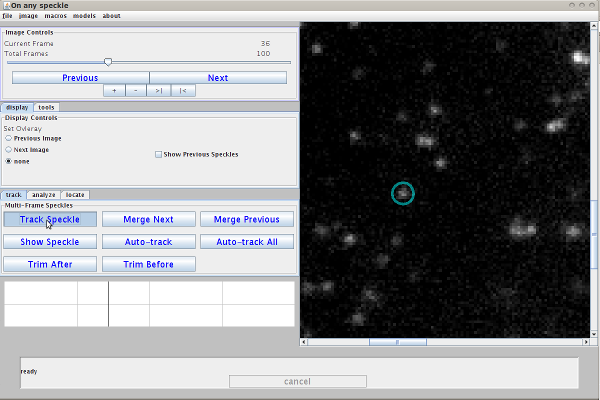
Click the button, "Track Speckle" located in the "track" tab, or use the keyboard shortcut "t"

By clicking the button you will track the currently selected speckle. If there is not a selected speckle you will be prompted to click on the speckle mark you wish to track.
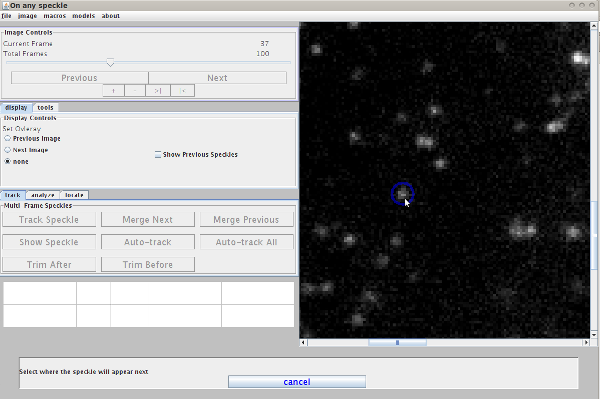
The image will go to the next frame, with a blue speckle mark to show the previous location.

Click again to place a new speckle mark in the current frame. If you do not want to place a speckle mark, press the cancel button at the bottom. You can place a speckle mark in any frame by moving to a different frame.
Auto-track
Auto-track a speckle through multiple frames using the current model. The type of model will dramatically change the behavior of the auto track routine.
To auto-track a speckle select the tab "track" and click the button "Auto-track". The keyboard shortcut is a. Similar to the manual track, you have to select the speckle track you wish to track. To select the speckle track click on the speckle mark.
After the auto-track routine has concluded the profile of the speckle intensity is plotted in the profile panel.
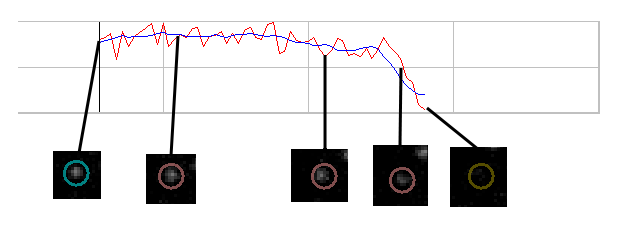
This image shows the speckle in different frames and how it corresponds to the intensity profile (The red line shows the average intensity within a circle centered at the speckle mark. The blue line shows a smoothed version of the red line. The latest version of Speckle TrackerJ also plots the intensity around a ring centered at the speckle mark.) Some of the fluctuations in intensity could be due to the speckle not being right at the center of the mark. Although the last frame might not appear to be a speckle, the intensity is higher than the average intensity.
If Auto-track fails after a few frames, you may need to adjust the parameters of the model, such as the size of the search area for the next speckle mark.