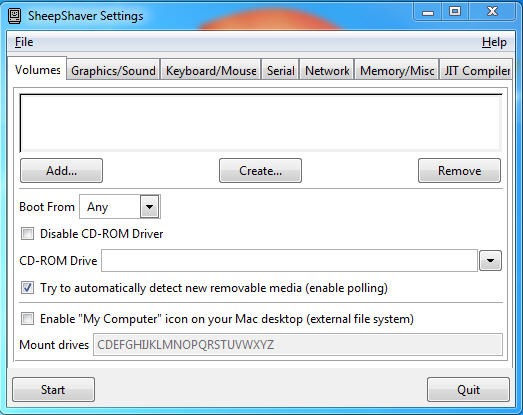
If you successfully run SheepShaverGUI.exe without any error message, then you can see the following window for setting up SheepShaver parameters. However, you should create a hard disk image file beforehand.
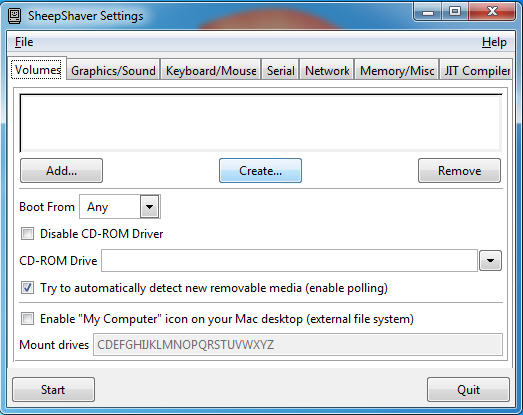
- Create a hard disk image for SheepShaver.
- Push the "Create.." button in the volumes tab.
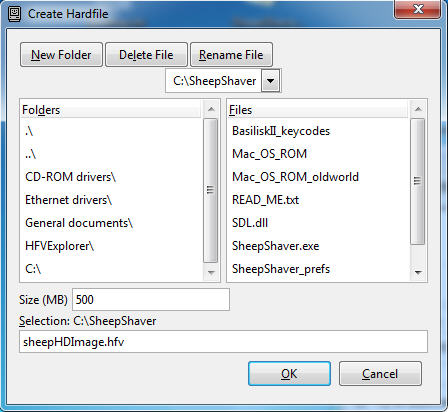
- In the Create Hardfile window just opened, select the folder (better to select same folder you install SheepShaver), select the disk size (in this example, 500 MB), input the file name (in this example, sheepHDimage.hfv), and then push "OK" button. The disk image creation takes for a while. Note: SheepShaver uses Mac HFS partitions.
- Push the "Create.." button in the volumes tab.
- SheepShaver parameter setting.
- Volumes
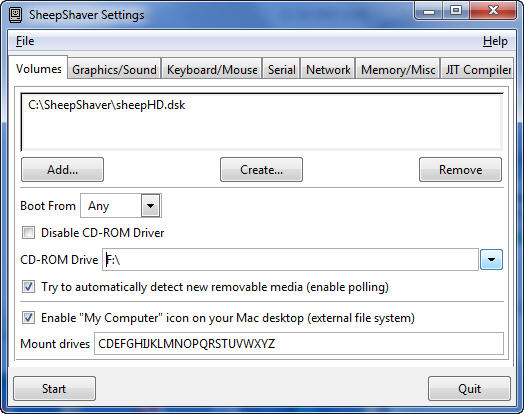
- Boot from: Any
- Uncheck Disable CD-ROM driver
You need a CD-ROM drive for MacOS installation. - CD-ROM drive: drive letter of your CD-ROM drive in Windows
- Check Try to automatically detect new removable media
- Check Enable 'My Computer' icon on your Mac desktop
Important! You have to access your Windows from Mac.
- Graphics/Sound
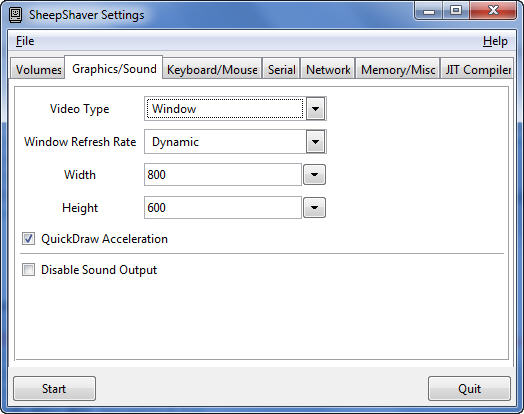
- Video Type: Window
- Window Refresh Rate: Dynamic
- Width: 800 (pixel)
- Height: 600 (pixel)
- Check QuickDraw Acceleration
- Uncheck Disable Sound Output
Sound function is not required for DTSA.
- Keyboard/Mouse
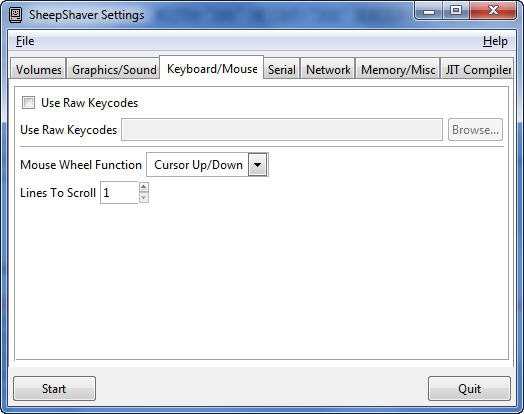
- Uncheck Use raw keycodes
- Mause Wheel Function: Cursor Up/Down
Scroll is useful even in mac. - Line To Scroll: 1
- Serial
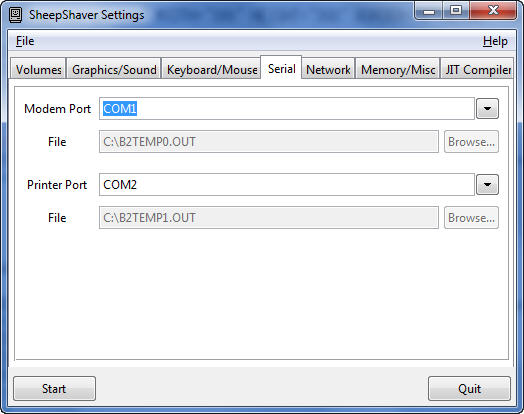
- Modem Port: COM1
- Printer Port: COM2
- Network
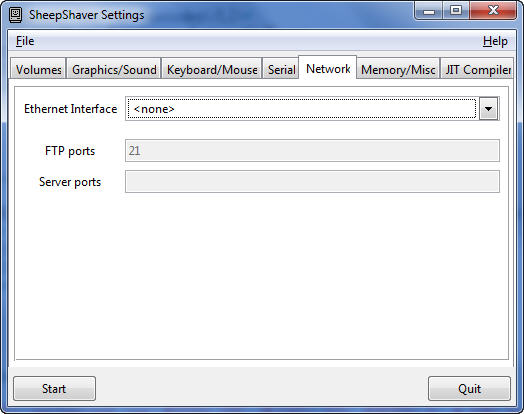
- Ethernet Interface: <none>
You can apply the network setting. As far as I understand, there are 4 different ways to set the network in SheepShaver. However, we do not need this function for the DTSA use. If you really want to have this function, go for it! Please tell me the brief instruction if you succeed.
- Ethernet Interface: <none>
- Memory/Misc
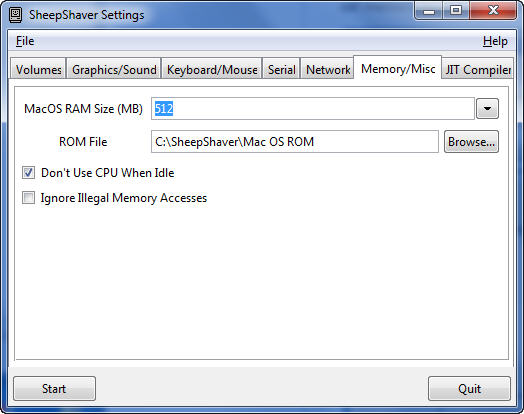
- MacOS RAM Size (MB): 256
Up to the memory amounts in your Windows PC. Just for DTSA, 256 MB is just fine (I think). - ROM File
Select your Mac ROM file. Without the ROM file, you cannot use Mac of course. - Check Don't Use CPU While Idle
- Uncheck Ignore Illegal Memory Accesses
This is just a protection only for MacOS under SheepShaver since some Mac programs cause such illegal memory access!
- MacOS RAM Size (MB): 256
- JIT Compiler
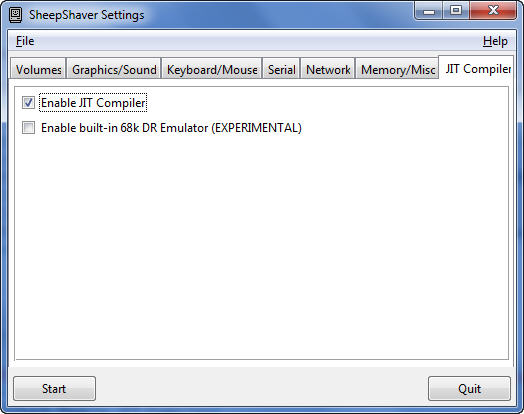
- Check Enable JIT Compiler
Mac under SheepShaver should run faster with the JIT compiler - Uncheck Enable built-in 68k ....
- Check Enable JIT Compiler
- Volumes
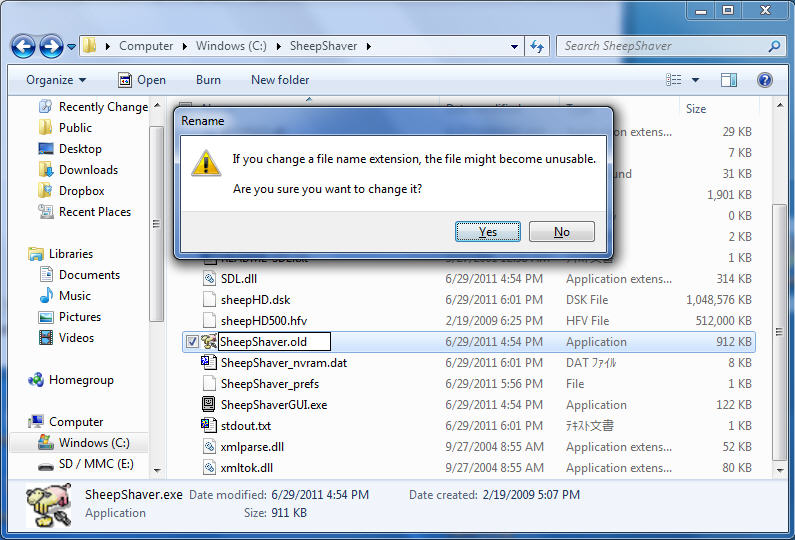
- Replace SheepShaver.exe with a newer version
After you confirm SheepShaver works in your system, you may want to replace SheepShaver with a newer version.- Rename the current SheepShaver.exe to SheepShaver.old
- Unzip SheepShaver_30_08_2010_startupsound.zip and copy both SheepShaver_startupsound_30_08_2010.exe and boing.wav into the SheepShaver folder
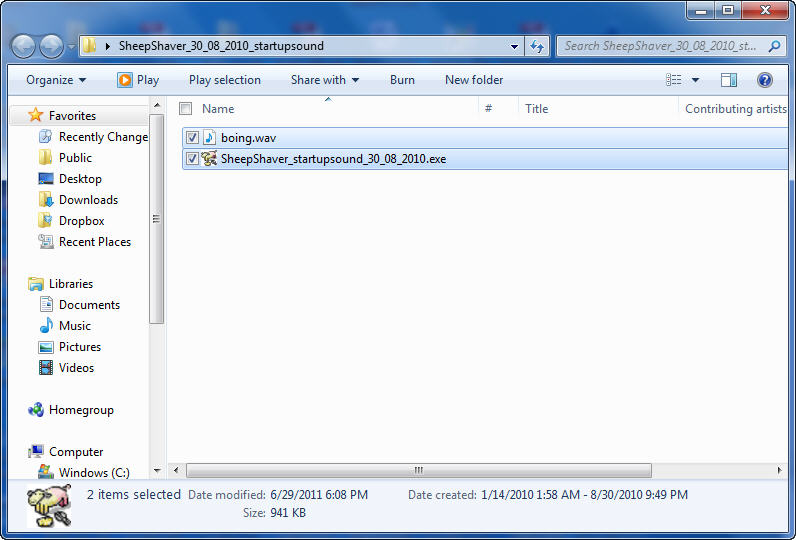
- Then, rename SheepShaver_startupsound_30_08_2010.exe to SheepShaver.exe
You may hear Boing sound!
- Rename the current SheepShaver.exe to SheepShaver.old