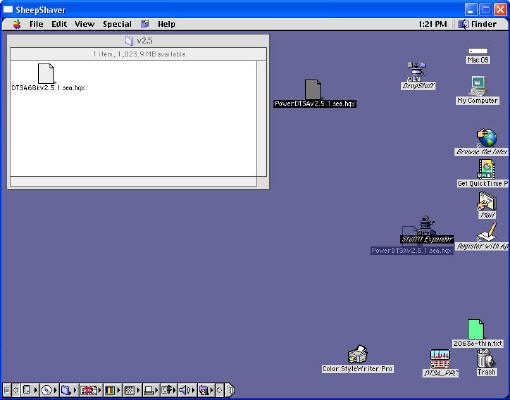
Finally, you are ready to install DTSA to the MacOS under SheepShaver on Windows.
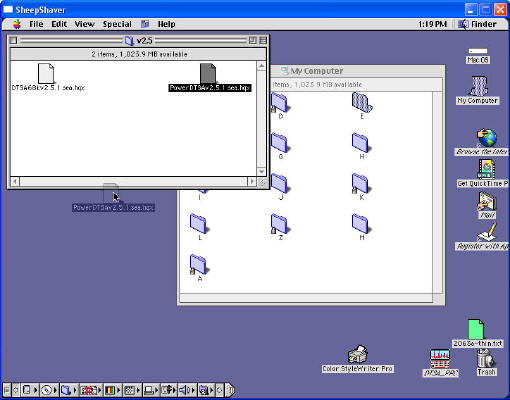
- Copy the downloaded DTSA hqx file from Windows to MacOS under SheepShaver
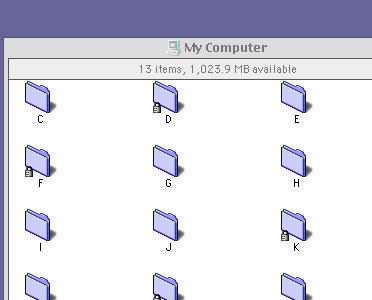
- Double-click "My PC" icon in MacOS under SheepShaver
- You can see folders in Windows from MacOS
- Drag the DTSA hqx file to Desktop of MacOS
- Double-click "My PC" icon in MacOS under SheepShaver
- Decompress the DTSA hqx file
- Use "Stuffit Expander". In Mac (at least MacOS 8.6), this program should be included as default. It can be found at Mac OS > Internet > Internet Utilities > Aladdin
- Select the folder to save the decompressed files (e.g. Mac OS folder)
Note: Stuffit Expander may not be very stable under SheepShaver

- You should see the decompressed filed in the selected folder
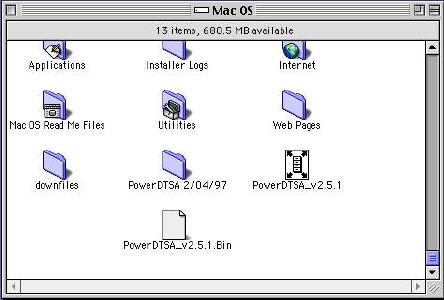
The folder "PowerDTSA 2/04/97" (almost 10 years old!) contains all the files related to DTSA ver 2.5
- Use "Stuffit Expander". In Mac (at least MacOS 8.6), this program should be included as default. It can be found at Mac OS > Internet > Internet Utilities > Aladdin
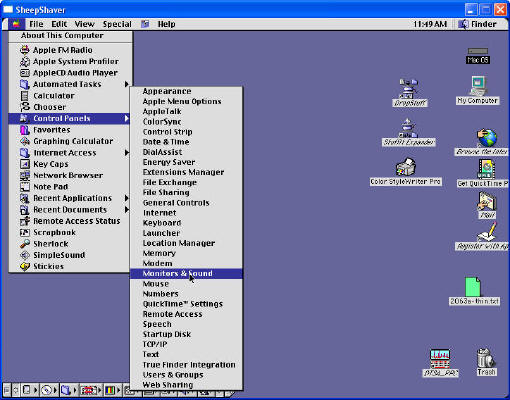
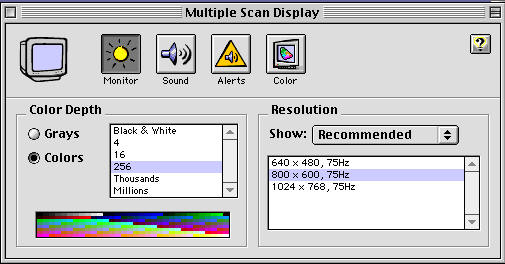
- Set the screen parameters for DTSA
You do not have to this. Otherwise, DTSA always asks you to change the screen resolution.- Go to Apple mark > Control Panel > Monitor & Sound
- Select the screen color: 256
- Go to Apple mark > Control Panel > Monitor & Sound
- Set printer for DTSA
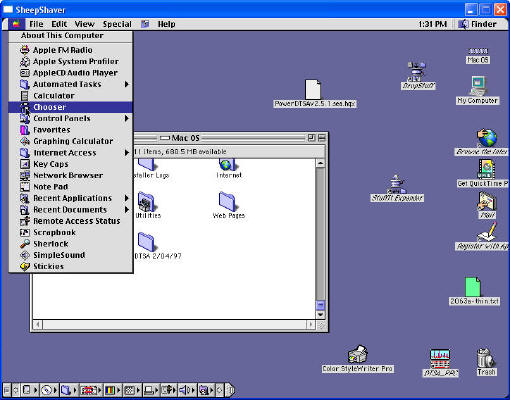
DTSA will show you warning if you do not select a printer.- Go to Apple mark > Chooser
- Select a printer (e.g. Color SW pro), then click the Setup button
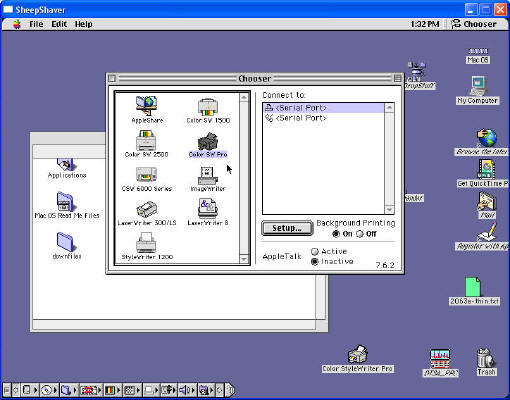
- Go to Apple mark > Chooser
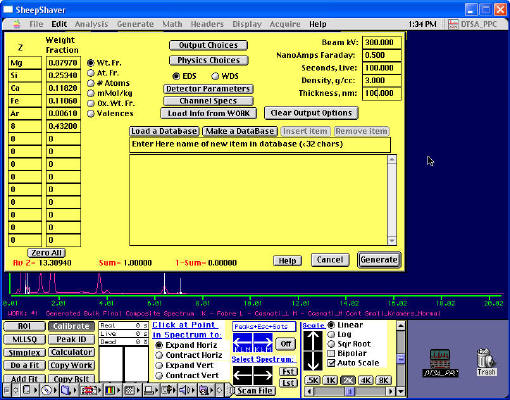
- That it! Only you need to do is just to double-click the DTSA icon.
Have fun with DTSA on your Windows PC!