I am sure there are several ways to install SheepShaver. However, I have used the following way (at least woking to me).
- Create a folder for SheepShaver, e.g. C:\SheepShaver. I have created this folder in the root of the C drive. But you can have such folders anywhere you want.
- Unzip the downloaded SheepShaver zip file (SheepShaver_05_05_2010.zip). After unzipping, a folder called "SheepShaver" can be found in unzipeed "SheepShaver_05_05_2010" folder. Then, copy all the files in the unziped SheepShaver folder into the folder created above.
- Copy a C:\Sheepshaver\CD-ROM drivers\cdenable.sys file into C:\WINDOWS\system32\drivers. You need a CD drive for MacOS installation!
Note: For 64-bit Windows systems, this cdenable.sys file should be copied into C:\WINDOWS\SysWOW64\drivers. - Unzip SDL-1.2.14-win32.zip and copy a sdl.dll file into the SheepShaver folder.
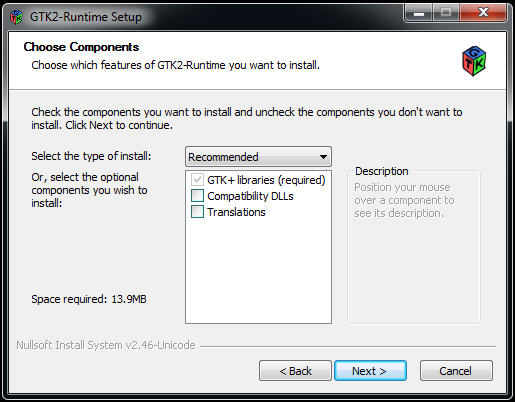
- Install GTK+ runtime by double clicking the gtk2-runtime-2.22.0-2010-10-21-ash.exe file.
Check the PATH set up.

And, finally select a folder to install Gtk+. The default folder is just fine.

- Run SheepShaverGUI.exe in the SheepShaver folder by double clicking the icon.

If you see the following error message, the folder where Gtk+ was installed is not added into environmental variable. Simply, reinstall gtk+ with checking the environmental variable option.